


FAQ Series: How to make a Crossbody Bag
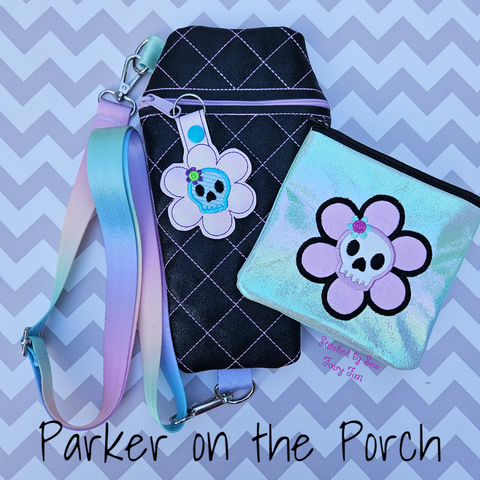
Want to take this week’s new Coffin Zipper Bag to the next level? Make it a crossbody bag with just a few extra steps!
Supplies Needed

- POP! Coffin Zipper Bag Size 3 or Size 5
- POP Coffin Bag Full Tutorial Instructions
-
1 or 1.5 inch Webbing
- -(1) 5 inch long piece of webbing for attaching D-rings. (This will be cut into (2) 2.5 inch long pieces, one for each D-ring.)
- -(1) 56 inch piece of webbing for the strap.
- This crossbody blog will focus ONLY on the steps to make the coffin zipper bag into a crossbody bag. Use the full tutorial linked above for bag construction instructions.
- If you choose to use 1 inch webbing, you need to use 1 inch hardware. If you choose to use 1.5 inch webbing, you need to use 1.5 inch hardware. 1 inch webbing and hardware were used for this blog.
- (2) 1 or 1.5 inch Swivel Clasps
- (2) 1 or 1.5 inch D Rings
- (1) 1 or 1.5 inch Adjustable Slide Buckle for Adjustable Straps
Hardware in 1" HERE and in 1.5" HERE. Webbing can be found at Sewing.net and My Handmade Space
Instructions
- Follow Steps 1-10 of the PDF tutorial included with the purchase of your POP zipper bag for bag construction.

- Cut your 5 inch piece of webbing in half to make (2) 2.5 inch long pieces of webbing, one for each of your D-Rings. *Heat-seal all four raw edges of the webbing with a lighter or Fray-Check to keep the webbing from unraveling or pulling out of your bag later.*
- Decide where you would like your straps to attach to your bag. Measure for precise placement or eyeball it if you’re feeling confident.

- Slide 1 D-ring onto one of your 2.5 inch pieces of webbing and leave about ¼-½ inch of the webbing on the outside of the stitched bag outline. Tape that side in place with tape outside of the stitching line. *I found that taping this side down before folding the other end of the webbing on top of it helps it not to shift during stitching!

- Slide the other D-Ring onto your remaining 2.5 inch piece of webbing again making sure about ¼-½ inch of the webbing is on the outside of the stitched bag outline. Secure the outside edge of webbing in place with tape outside of the stitching line.

- Fold the raw edge of one of your pieces of webbing over the D-Ring forming a loop, meeting up raw edges on the outside of the stitched bag outline. Tape the top piece of webbing down. Secure the D-Ring with tape as well to be sure it does not slide down into the path of the needle or embroidery foot when stitching. I also added tape on the sides of the webbing to keep everything firmly in place. (Just be sure if you’re using vinyl that the tape you’re using doesn’t damage the vinyl in any way first since you’ll be taping directly to the front of your bag.)

Repeat with the remaining piece of webbing and D-Ring.

- Raise your embroidery foot if your machine has that ability to account for the extra height that the webbing adds. The exact height needed will vary depending on materials you choose for this project.
- Advance step 11 in increments of 10 stitches until you reach the first loop of webbing. Refer to your individual machine manual to learn how to do this on your machine. When you get to just before the webbing, press “Go” and let the machine stitch until it has completed stitching over the webbing. Cut the threads.

- Continue advancing stitches in increments of 10 until you reach the second piece of webbing. Begin stitching just before the webbing just as you did with the first webbing loop. Continue stitching over the webbing loop and then stop stitching. Cut the threads.

- *IMPORTANT STEP* Once both pieces of webbing are stitched down, you need to set your machine to the very beginning of Step 11. Picture below shows the button I use to go back to the beginning of a step on my Brother Stellaire. Refer to your machine manual for specific instructions on how to go to the beginning of a step. This is the step where you will now be placing the back piece of your bag on top of the front of the bag.

- For the completion of the bag, refer to the full PDF tutorial. Keep in mind the extra height that the webbing may add when running the final step. You may need to raise your foot when it approaches the webbing and then lower it for the spaces in between the webbing. I suggest setting your machine to a slow speed and not walking away during the remaining two steps!
- *ANOTHER IMPORTANT STEP* After removing the bag from the hoop, take extra care when trimming off the excess stabilizer and fabric. You do not want to cut that extra ¼-½ inch of webbing that is on the outside of your stitch lines. When trimming, make sure the webbing is out of the way of the scissors and NOT being cut. The excess webbing keeps the webbing from pulling out of your bag.

Now that you have finished stop by our Facebook page and watch the video on our to construct a strap. Or checkout the Youtube Video below.
