


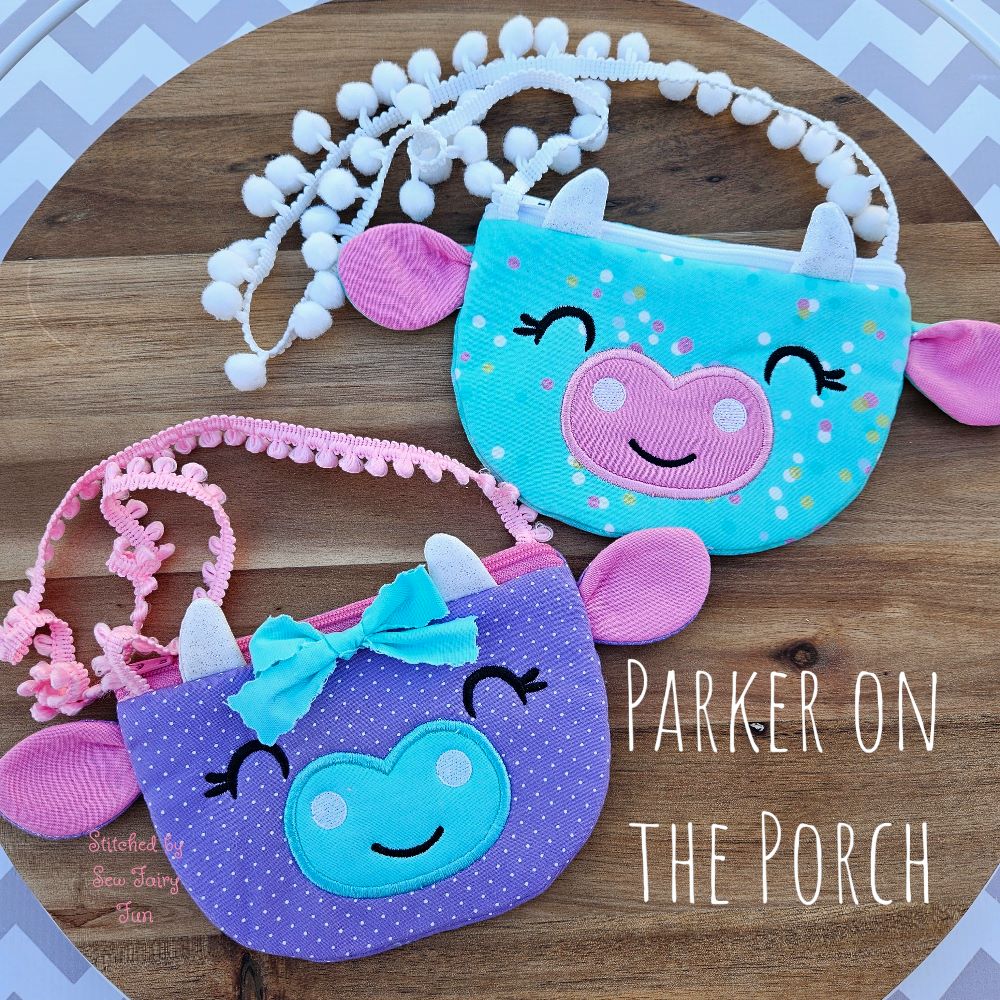
Holy COW! Jen has done it again with yet another adorable new animal in the hoop bag! In this blog, we’ll take a close-up look at how to add a strap to these fun animal bags. The same steps can be followed for any of the animal bags in the POP collection so be sure to browse the website for more cuties like the unicorn bag, panda bag, and more!
Supplies Needed
- POP! Cow Bag (I used the 5x7 size design for this tutorial.)
- Full PDF Tutorial instructions for Cow Bag (Included with purchase of design.)
- Your choice of strap material- I use pom pom trim the most! You could also use grosgrain ribbon, a thin rope, etc. I cut my strap to approximately 27 inches long which seems to be a great length for my 5 and 10 year old.
Let’s Make It!
-
Pull up the full PDF tutorial for the new oh so cute cow bag. You will be following that tutorial for detailed step by step instructions for the construction of this bag. This blog is focused on a close-up look at adding the strap.
-
Remember to follow the PDF tutorial and make your cow bag’s ears and horns before beginning the main bag construction.
-
Run steps 1-3 of the Cow Bag following the main bag tutorial. These steps will run placement, zipper tack-down, and the placement lines for the straps, ears, and horns.
-
Grab your strap. I used a pompom trim from Hobby Lobby and cut it to approximately 27 inches which seems to be a good length for my 5 year old and 10 year old.
-
Carefully melt the strap ends with a lighter or use “Fray Check” on the ends of your trim to keep them from unraveling.
Optional, but I also cut off a pompom or two closest to each end of the strap to make life easier on myself when tacking down the strap ends if the pompoms are larger. In some of the pictures below, you will see a pink trim. This one had tiny pompoms so I didn’t need to trim off anything.

- When placing the strap ends, you want those ends of the strap to be heading AWAY from the zipper teeth, so that the strap ends will be encased inside of the fabric of your bag. See pictures below for close-up of left side and right-side, as well as a zoomed out view of both strap ends. Secure each strap end with tape. I placed my tape below the tack down line for the left side of the strap, and above the tack down line for the right side of the strap.


- Run step 4 and step 5. This will secure the left and right sides of the strap.

-
Keep the strap above the hoop, out of the way of stitching as you continue following the main cow bag tutorial for steps 6-18.
-
Once finished running steps 6-18, your bag should look like the one in the picture below. Notice that the left side strap end is now secured inside of the bag, and the right side strap end still isn’t. That’s ok! If yours looks like the picture, you’re doing it correctly.

- Next, you’ll want to secure the horns and ears by folding them down towards the middle of the bag with some embroidery tape.

-
After taping the ears and horns down, you’ll need to arrange the strap onto the middle of your bag, so that strap itself and any pompoms are away from the edges that will be stitched. Particularly with the bigger pompom trim like the white one in the pictures below, I try to make sure the strap is arranged so that it is only one layer rather than stacked on top of itself. This way, the strap is as flat as possible.
-
Secure the strap with tape. Be careful using embroidery tape here….depending on what kind you have, it may pull on the pompoms if you're using that type of trim. I used magic tape and still needed to remove it very carefully when finished making the bag so that the pompoms didn’t get extra fuzzy or pulled.
-
Remember to OPEN YOUR ZIPPER and then follow the main pdf tutorial to finish your bag (steps 19 and 20). Keep in mind when running step 19 in particular, you may need to raise the height of your embroidery foot if your machine has that capability particularly if you used a more bulky strap material. I just prefer to stay right by my machine when running the final two steps of any in the hoop bag to make sure nothing goes wrong so close to the finish line.


-
When trimming around the perimeter after removing from the hoop, I like to leave about a half inch of the right side strap end to help make sure that the strap won't accidentally pull out. To do this, I just carefully move the fabric out of the way when I trim along the outside of that part of the bag.

Turn your bag inside out and admire the adorable new bag you just made! There are so many more cute POP animal bags so be sure to check them out on the website. They make absolutely perfect birthday gifts, and can be made in themed colors to match any holiday or occasion. Also, if you sell your finished products, I can tell you from experience that these animal bags have always sold out at craft shows I participate in! Have a blast creating and be sure to share your creations with us over on the Parker on the Porch Facebook page!