


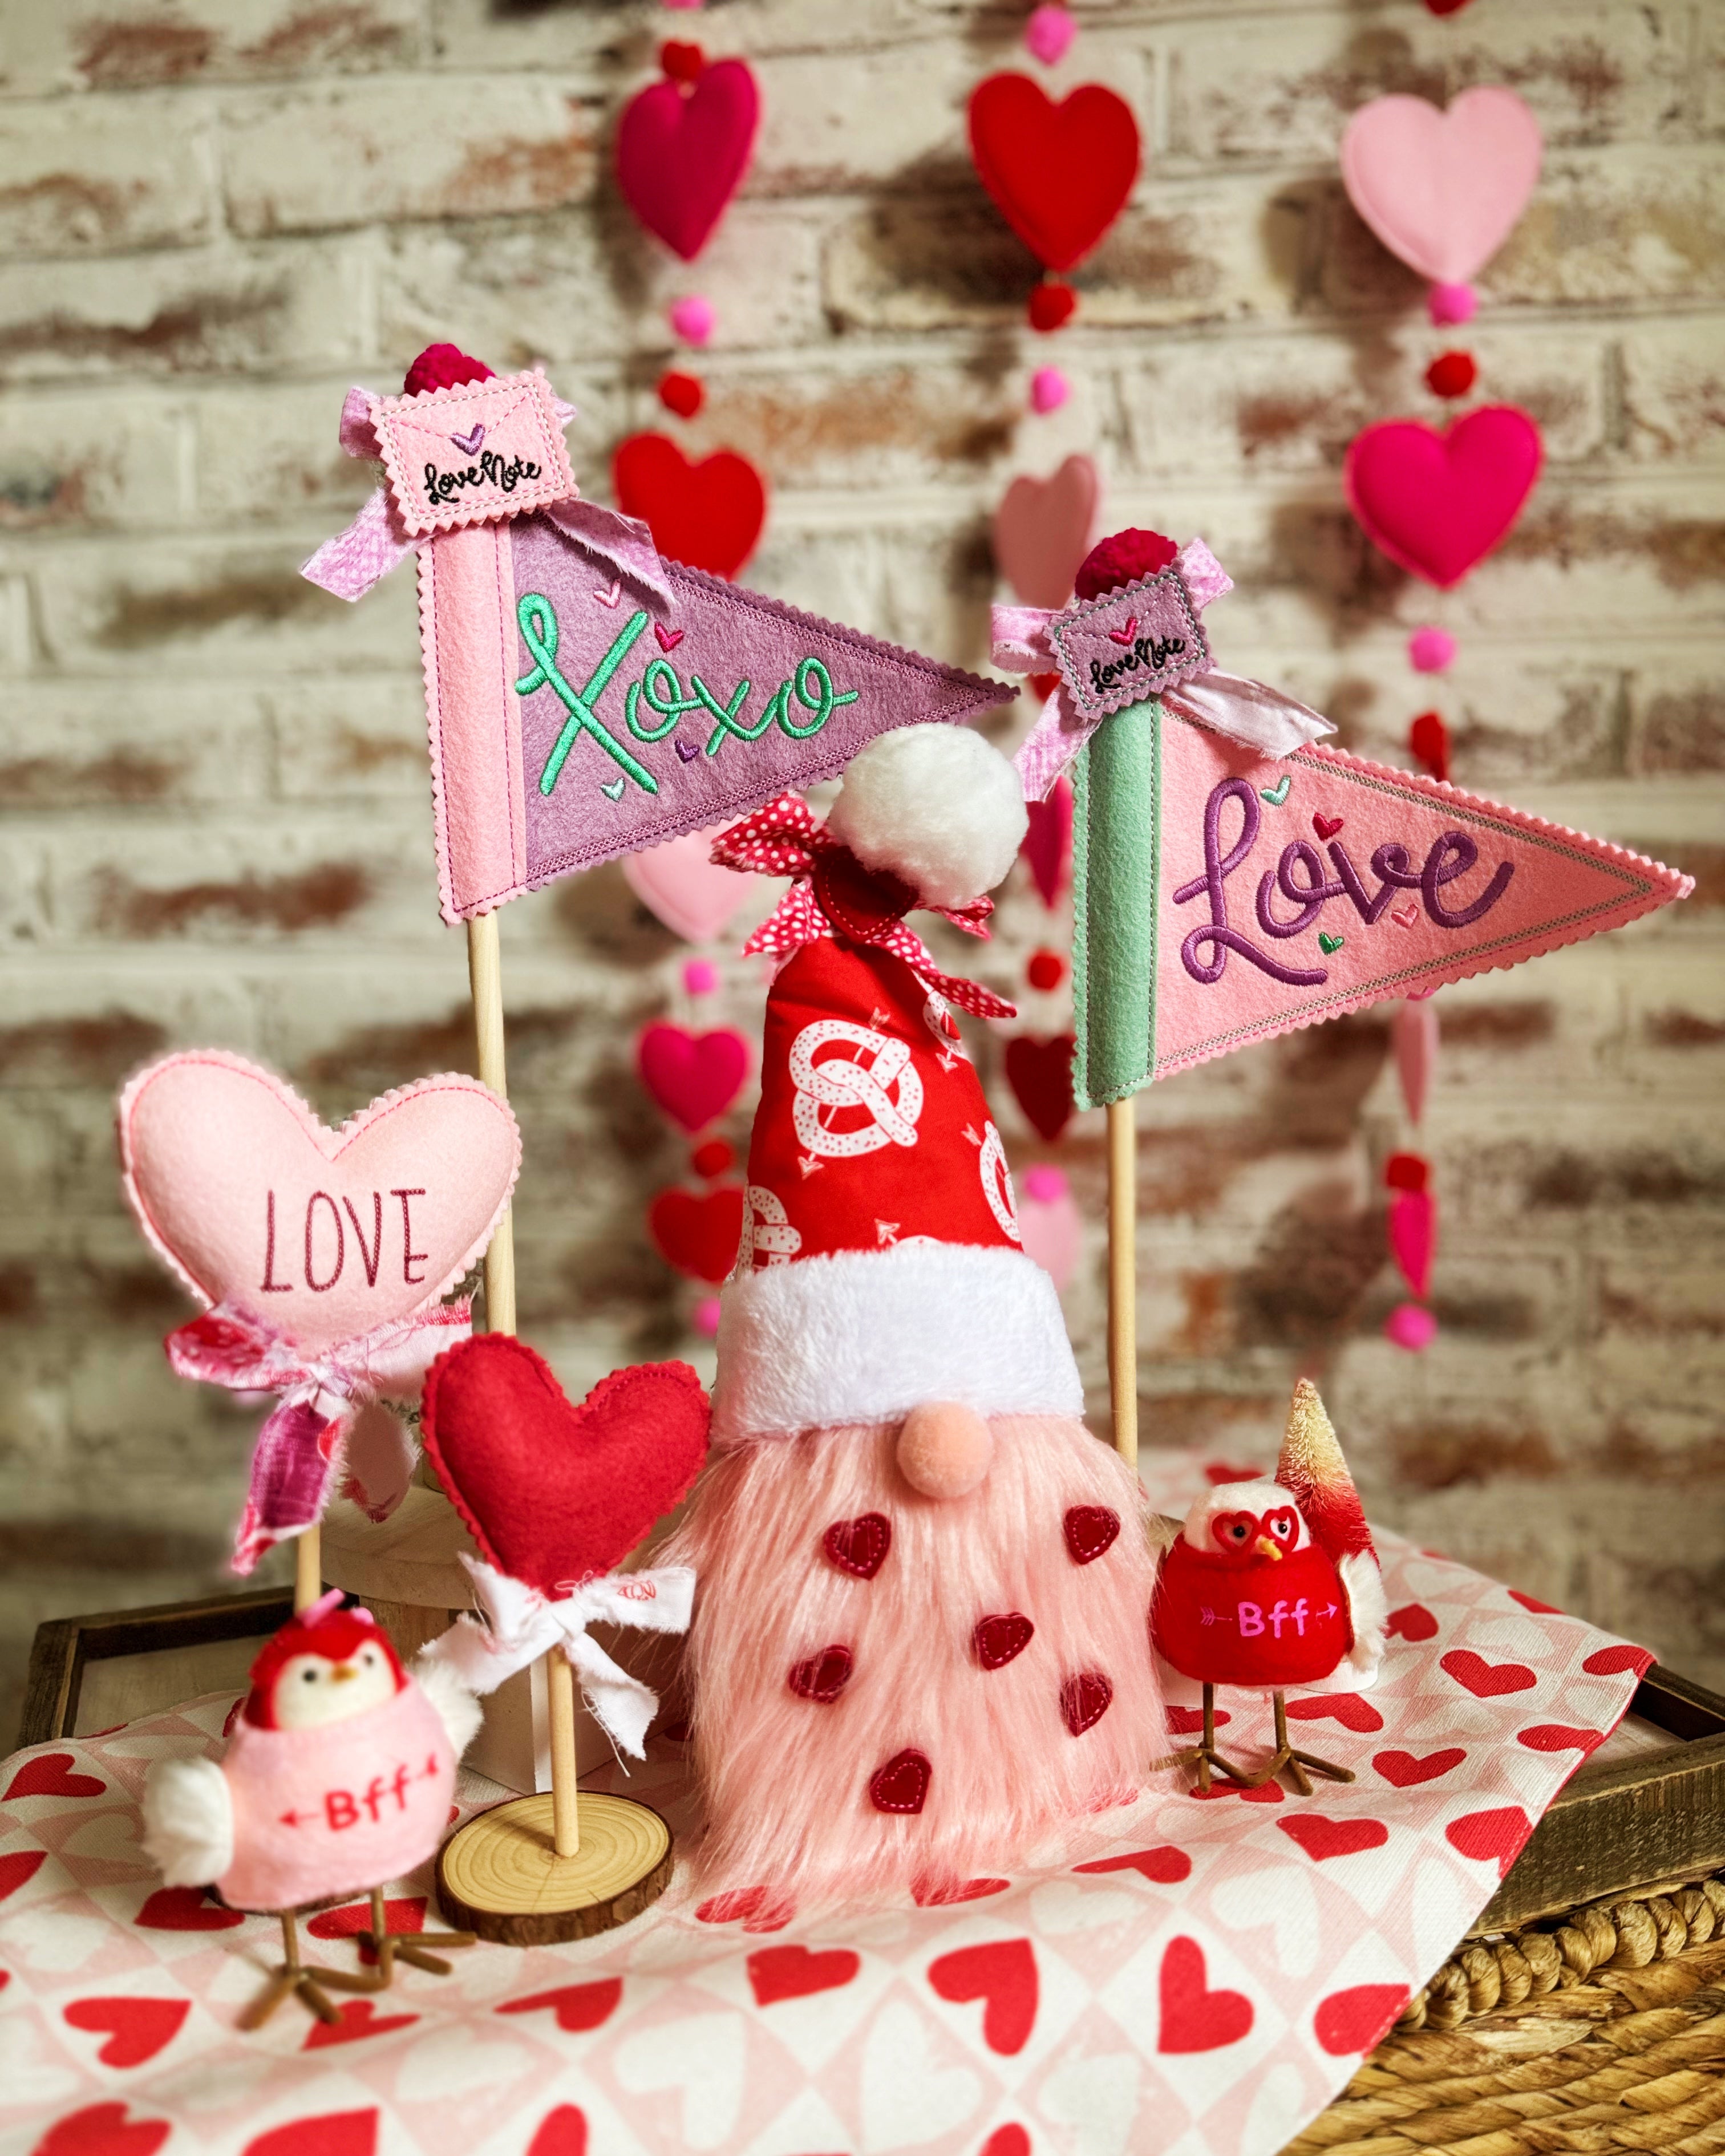
Parker on the Porch is back this week with the first new releases of 2024! If your house looks a little sad after packing away all of your holiday decorations, we have just the project for you! These vintage flag banners are quick to make and will bring a “POP” of color and fun to your home to make you smile!
Supplies Needed
- POP! Vintage Flag Design
- Your choice of felt or vinyl for the flag banner
-
Tear-Away/Cut-Away Stabilizer depending on material used (For felt- POP suggests using cutaway); for vinyl you may need two sheets of tear-away depending on the thickness of the vinyl you choose.)
-
Your choice of sticks or dowels to slide your vintage banner flag onto when you’re done!
Let’s Make It!
- Hoop tear-away or cut-away stabilizer depending on the thickness of the felt or vinyl you’re making your flag with! (For the particular felt I used, two sheets of tear-away was perfect, but in general cutaway is recommended for felt.)
-
Run Step 1- This runs the placement lines for the flag onto your stabilizer.
Lay your felt over the placement lines and secure it to the hoop with tape. - Run Step 2- This will tack down the felt so it doesn’t shift while stitching the details of the flag.
- Run Step 3-This will stitch the decorative border around the main portion of the flag.


- Carefully remove your hoop from the machine. Trim away the top portion of the flag banner leaving about 1/8 inch seam allowance above the horizontal stitch line as seen in the picture below.
- Lay your second piece of felt down covering the horizontal stitch line with an overlap of about 1/8 inch towards the inside of the triangle. Also be sure that the top of your second piece of felt covers the placement stitches from step 1 at the top of the flag banner by at least ½-1 inch so you have room to trim around later. Secure with tape.


- Return hoop to machine and run step 4. This will tack down the second piece of felt you just added.
-
Run steps 5-9-These are the detail elements of the design.


- AFTER running step 9 , flip your hoop over so you’re looking at the BACK of your hoop. Cover the back side of the design with felt or vinyl. Secure with tape. If using vinyl, slide an extra piece of tear-away stabilizer between the vinyl and the bed of your embroidery machine to keep the vinyl from sticking.
- Run Step 10- This will attach the vinyl or felt on the back of the hoop to the front. When finished, the back of your hoop should look like the picture below.
- Remove design from the hoop, tear away any excess stabilizer if using tear-away, and trim around the perimeter of the flag banner piece with regular or pinking scissors.
- Finish up by sliding your choice of a “stick” into the opening. For the 6x10 size, I found that a 3/16 inch diameter dowel was a great option. For the 5x7 and 4x4 sizes, I used a combination of paper straws, treat sticks, and smaller diameter dowels from Hobby Lobby.


Get creative and add extras like pom poms or ribbons and most importantly HAVE FUN! These would look great in a bouquet of flowers for a teacher or loved one, in a household plant, or anywhere in your home that needs a little Valentine’s Day decor. Be sure to share your finished products in the Parker on the Porch Facebook Group; we’d love to see what you come up with!