


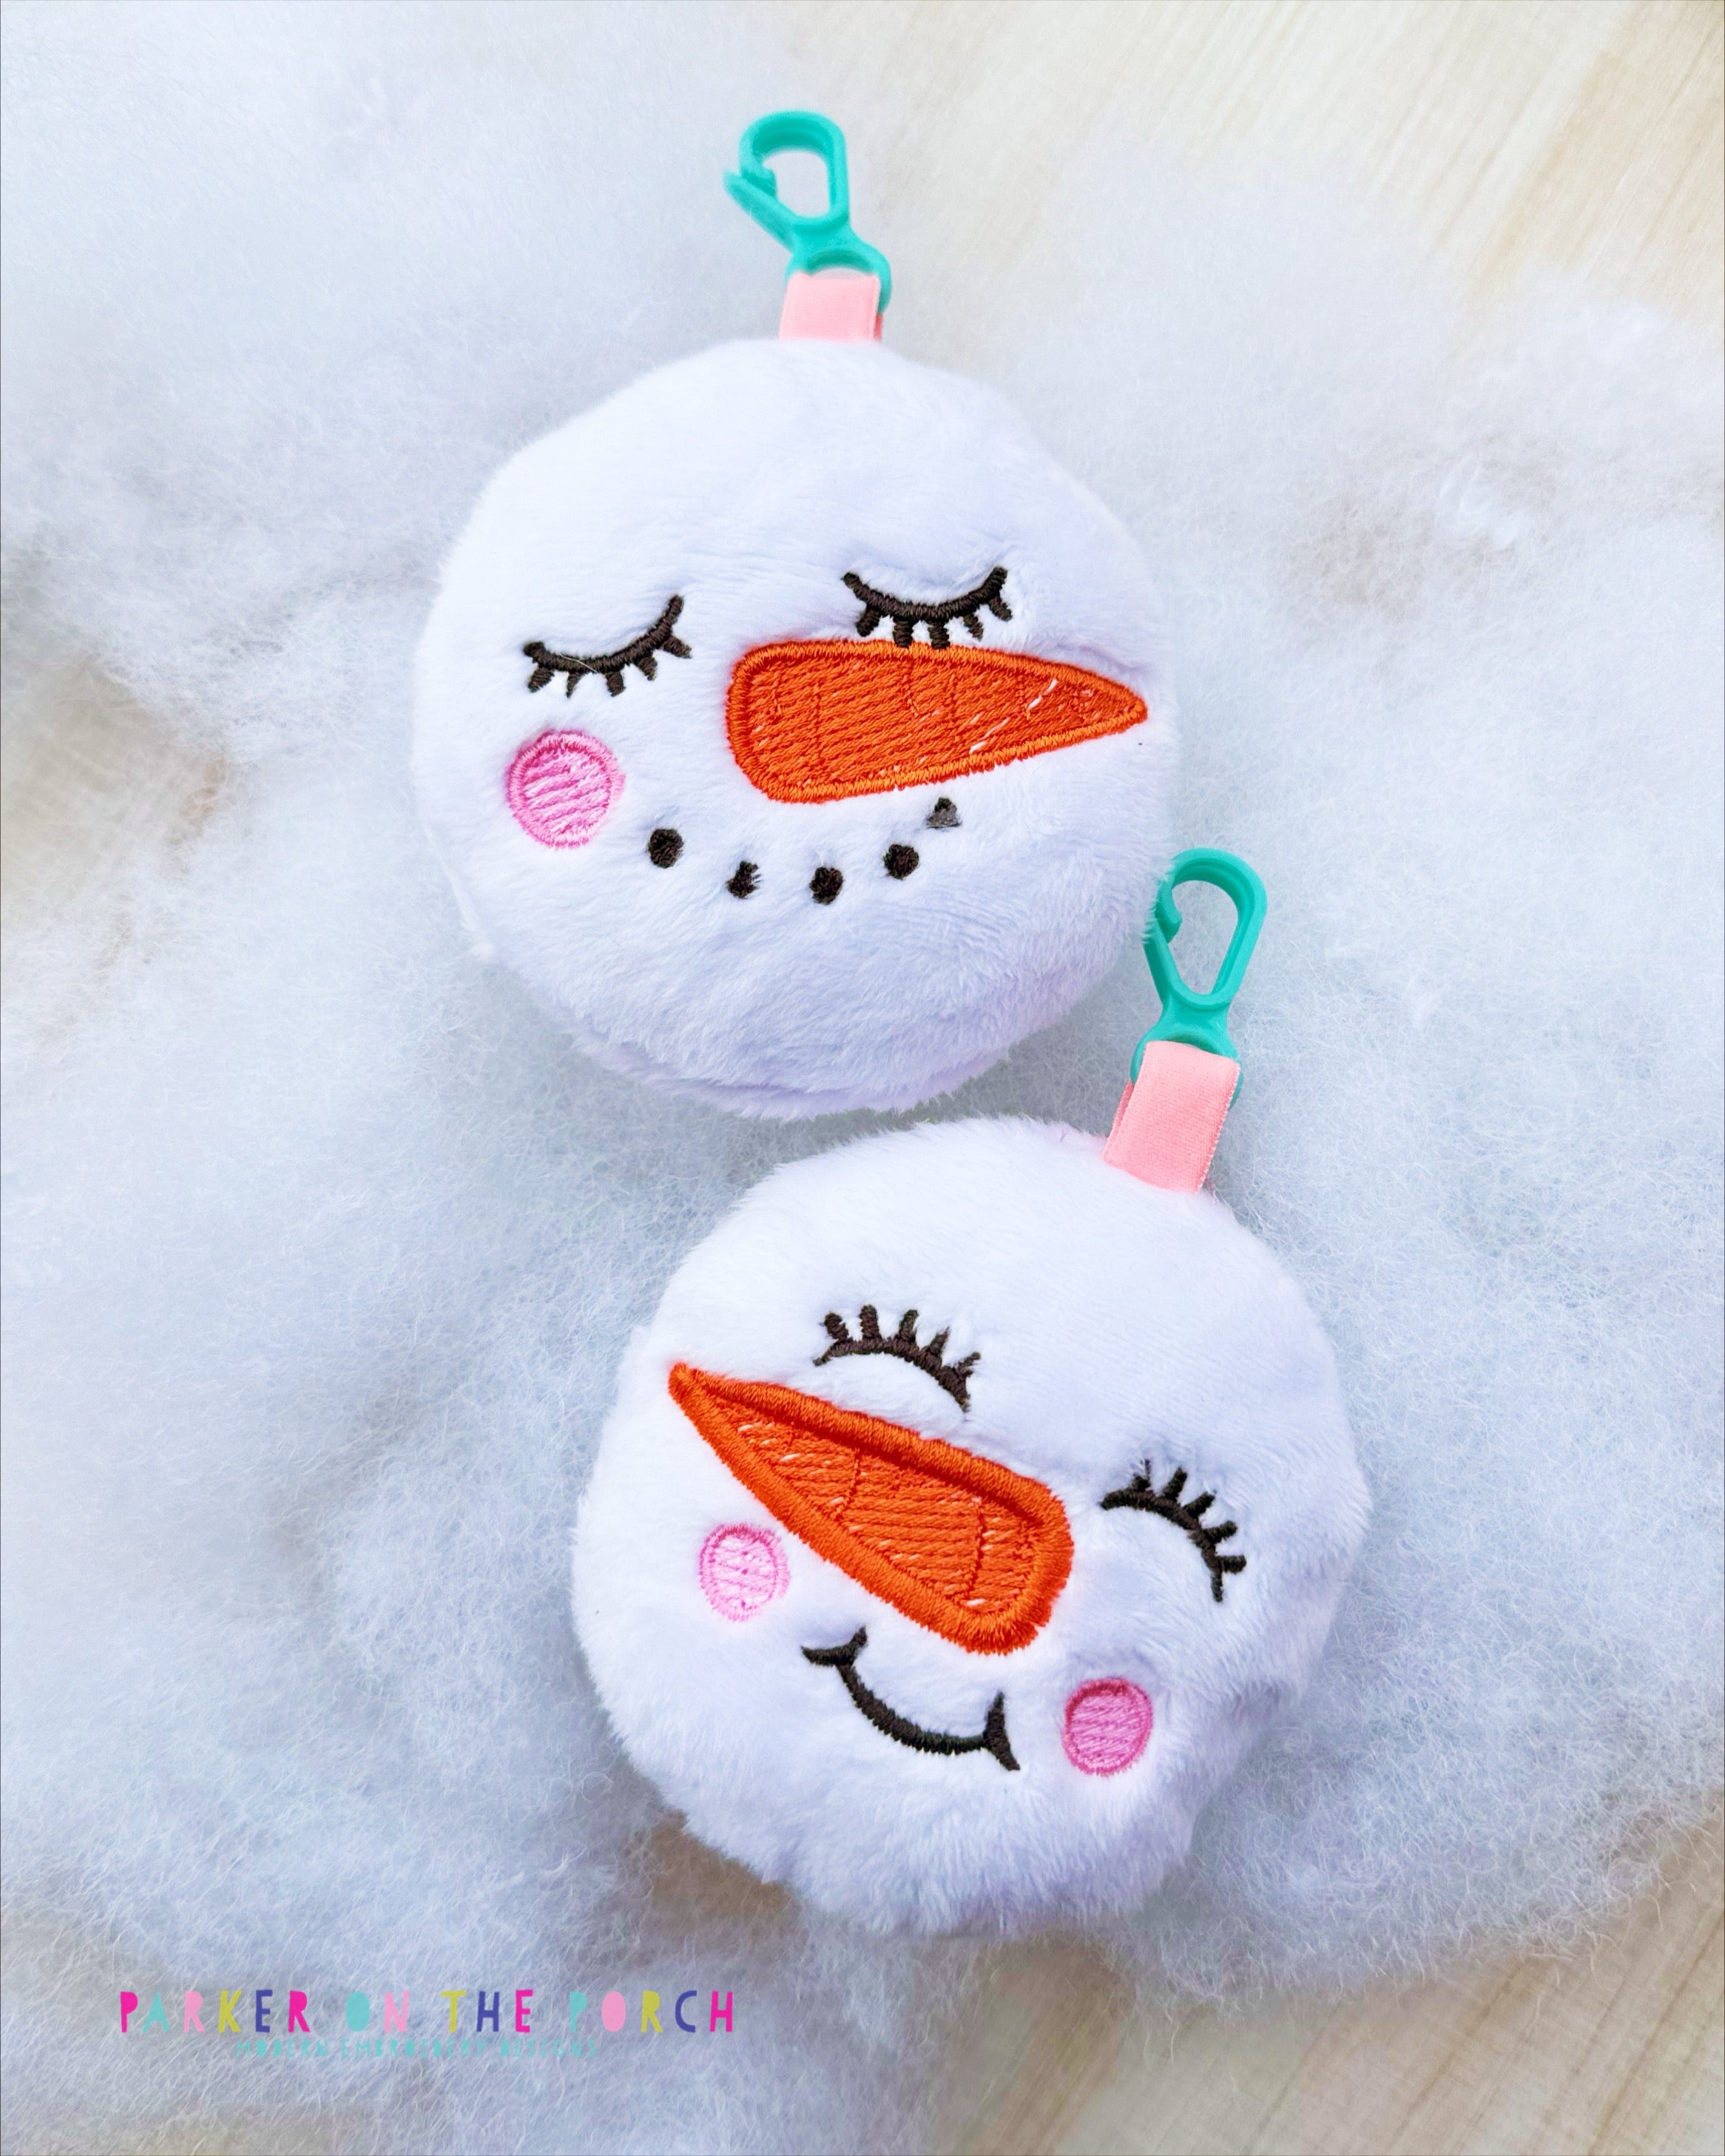
Bags and backpacks across the country will be oh-so-fashionable and ready for winter with this new snowman (or snowwoman) tag-along! With a little creativity, the possibilities are endless with this design, so let’s get stitching!
Supplies Needed
- POP! Snowman Tag-Along Design
- Your choice of minky or fleece
- Tear-Away Stabilizer
- Water Soluble Stabilizer (WSS)
- Polyfil stuffing
- Hot glue or fabric glue
Let’s Make It!
- Hoop tear-away stabilizer.
- Run Step 1- This runs the placement lines for your minky or fleece. (Minky used in this tutorial.)
- Lay your minky (I cut mine into a 5 inch square) over the placement line with the stretch going horizontally across the design. Lay a piece of water soluble stabilizer (WSS) on top of the minky and secure with tape. (WSS is necessary when using fleece or minky to keep your stitches from sinking into the fabric and not being seen as well.)


- Run Step 2- This will tack down the fleece and wss to the stabilizer.
- Run Steps 3-5. These steps include all of the details for the snowman tag-along.


- Run Step 6 which is the placement stitch for your fold over elastic or ribbon to hang your tag-along snowman from.
- After running step 6, you will place your fold over elastic in a loop with the raw edges outside of the design stitches. If you’d like to add a swivel clasp or key ring, this is the time to do that.
- Step 7 will tack down your fold over elastic or ribbon.


This tag-along is made with an envelope closure style. Cut two pieces of minky 5 inches wide by 3.5 inches tall with the stretch running horizontally. On the front of your hoop, place one piece wrong side up covering the top half of the design with the bottom edge folded up about ¼ inch. With the wrong side up, facing you, place the second piece of minky on top overlapping the bottom of the folded piece by about ½ inch (Just like you would when making a mug rug, if you’ve made one of those before.). Secure with tape. (You should be looking at the wrong side of the minky facing up towards you if you’ve placed it correctly.)


- If you can raise the height of your embroidery machine, we recommend raising it a little to help not catch the minky or fleece when running the final step.
- Stay close to your machine and run step 8 slowly making sure the minky or fleece doesn’t get caught.
- Remove design from the hoop, tear away the excess tear-away stabilizer and trim around the perimeter of the tag-along. (I like to leave about ¼ inch of the ribbon or fold over elastic outside of the stitch line just as an extra way to keep the ribbon from pulling out.)


- Turn your design right-side out and tear away the water soluble stabilizer.
- Turn the tag-along over and stuff with polyfil. Seal up along the folded edge on the back with your choice of glue. (I used a hot glue gun.)


Isn’t it SNOW adorable? Get creative and add accessories to this cute little tag-along if you’d like! It looks great on backpacks, on bags, and even as an ornament on the tree! Have fun and be sure to share your finished designs in the Parker on the Porch Facebook group!