

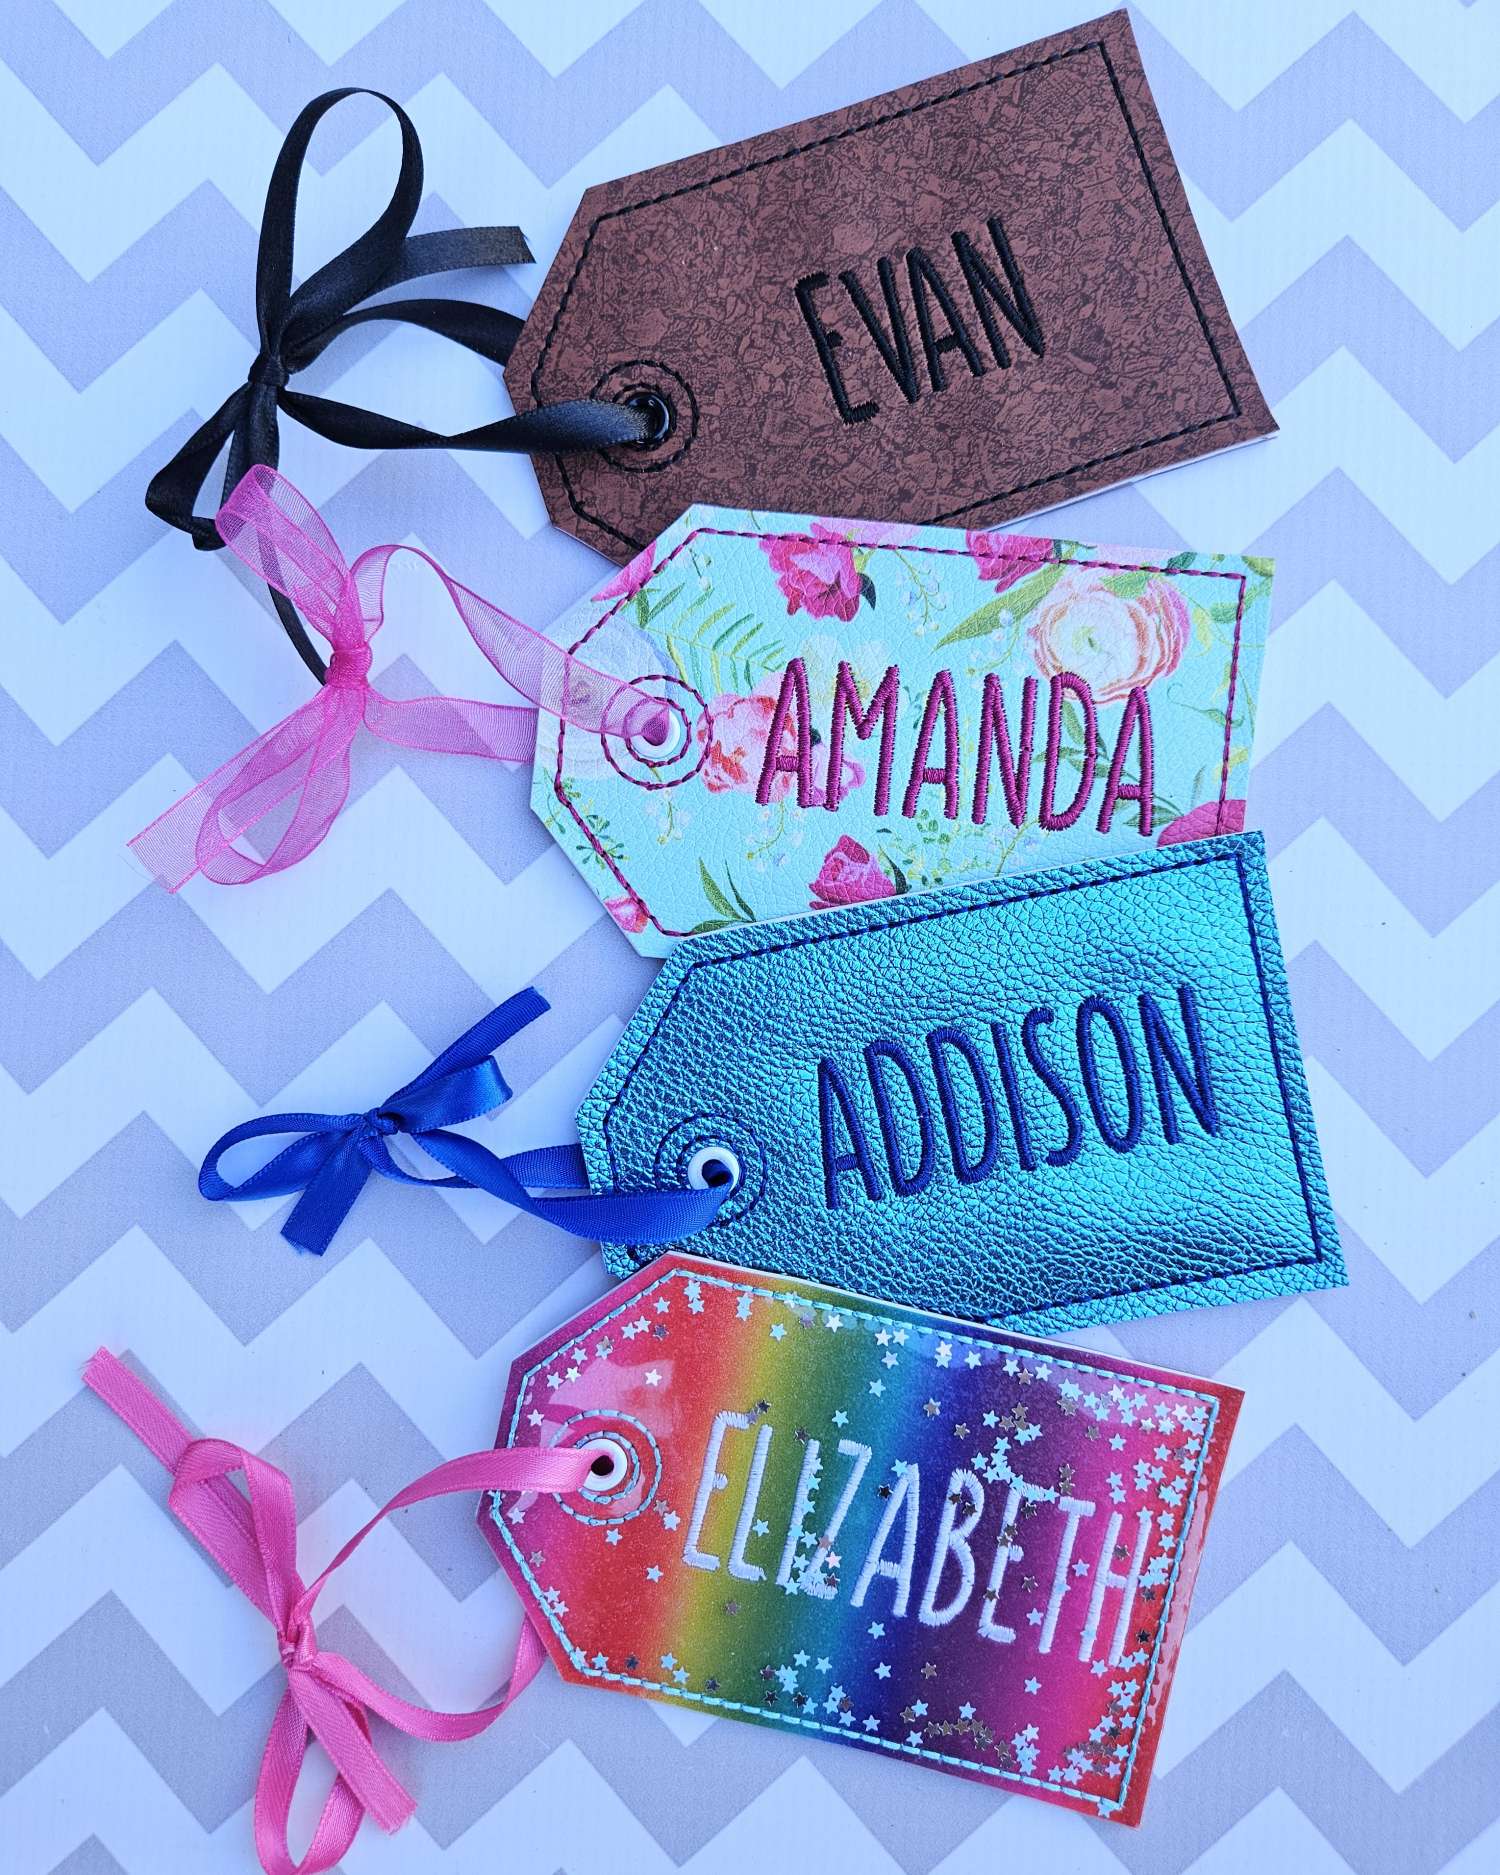
FAQ Blog Series: How to Create a Luggage Tag
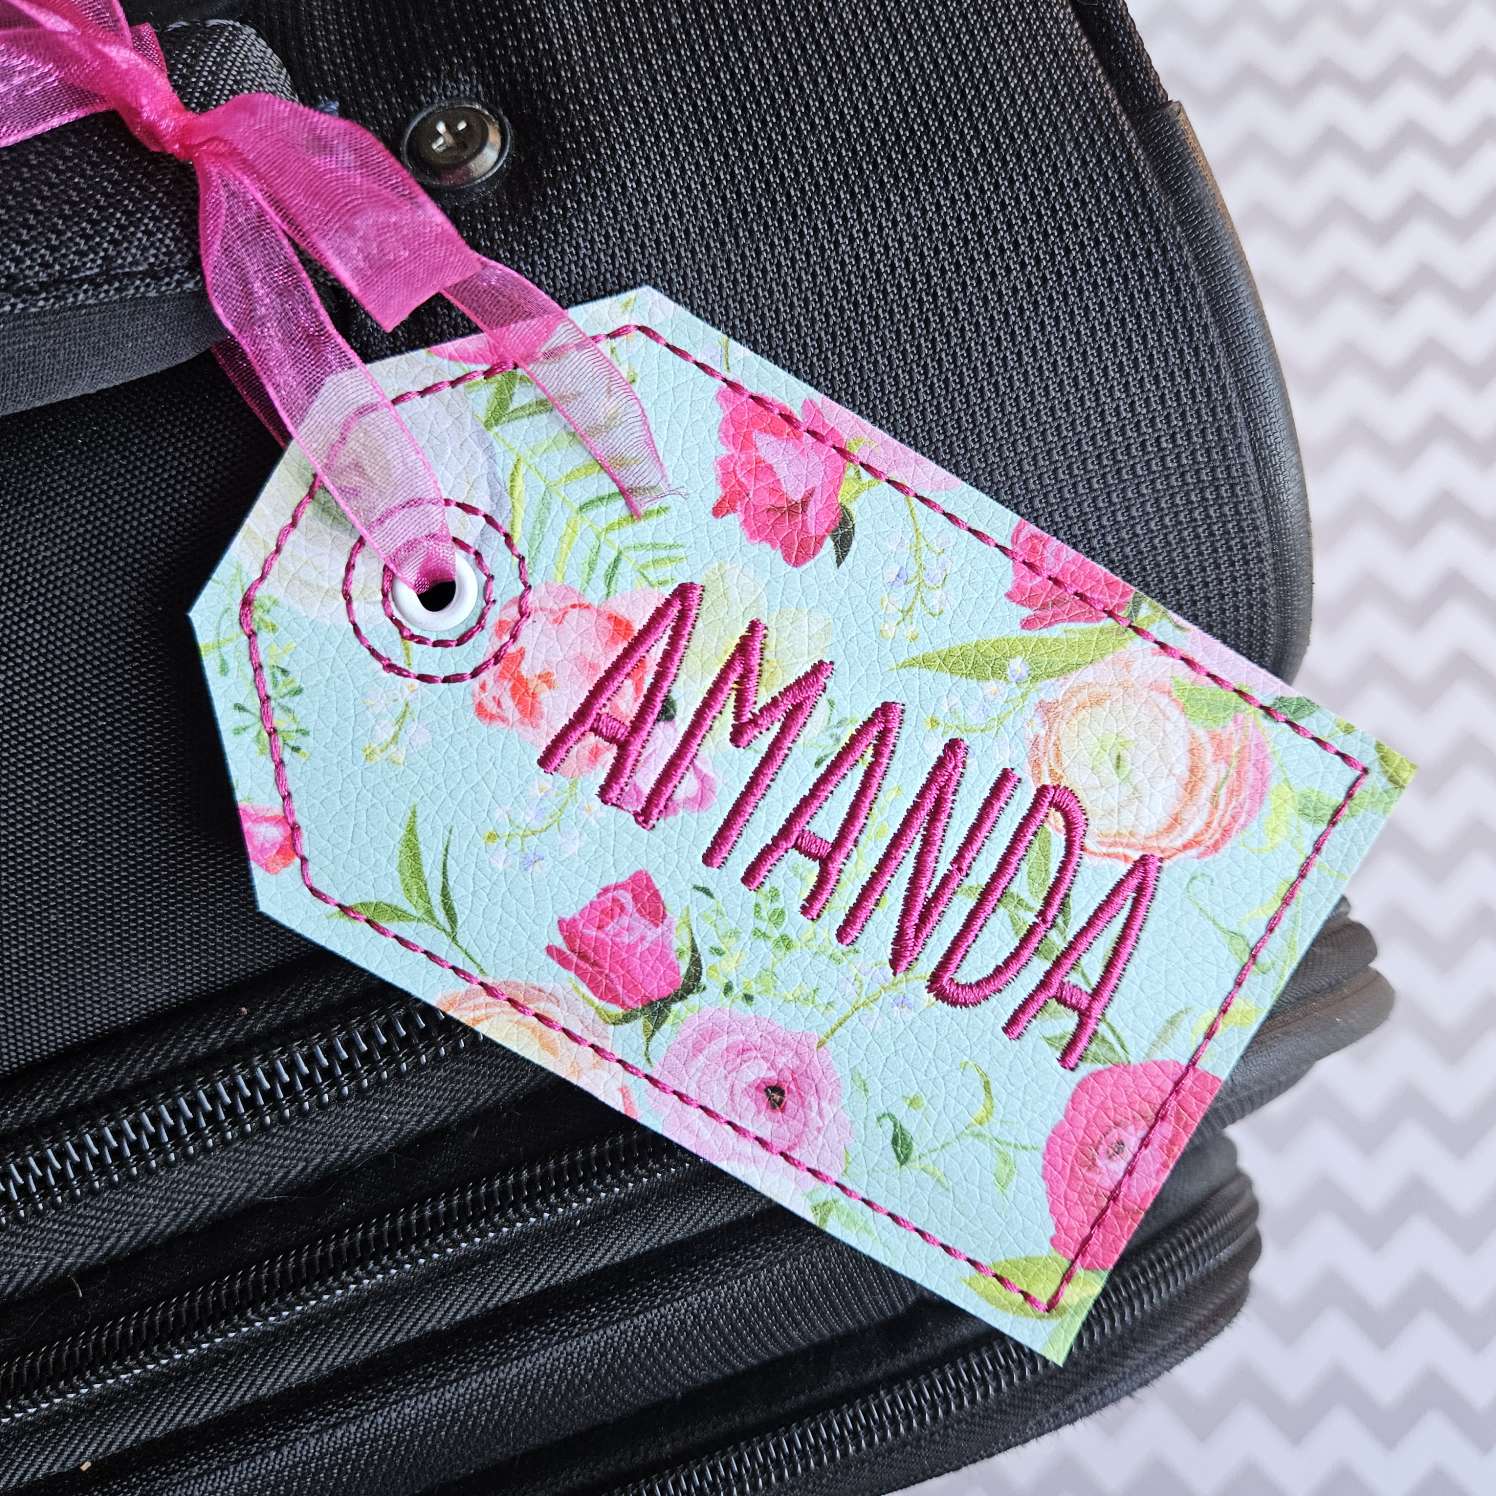
Do fall leaves, cool breezes, and autumn vibes have you feeling like it’s time to plan a cozy getaway? Or perhaps you’re missing the heat of the summer and you’re ready for a tropical vacation? No matter where your travels may take you, you’ll be vacationing in style with a POP luggage tag on your suitcase!
Supplies Needed
Let’s Make It!
- Hoop one sheet of cut-away stabilizer.
- Run Step 1, the placement stitch. This will show you where to place your vinyl.


- Lay your vinyl on top of your hoop covering the placement stitches. Be sure you have about an inch around the perimeter of the design outline so you have plenty of space for trimming later! (I cut my vinyl to 4in. x 6 in. for this tutorial.) Secure your vinyl with tape.
- Run Step 2. This will tack down the vinyl to the stabilizer.


- Run Step 3 . If you would like to add any other text to the front of your luggage tag, this is when you would also run those steps.
- BEFORE running step 4 (the final step) of the luggage tag, turn your hoop over so you’re looking at the back of your hoop. Using a pen or marker, draw a line on the stabilizer at the top of the luggage tag where the sides start to taper in as seen in the picture below. You will use this line to help you line up the clear vinyl portion of the luggage tag on the back.


- Cover the BACK of the design with felt or vinyl right side UP (facing you), and secure it with tape on the perimeter. Using the line you drew on the stabilizer in step 6, place a piece of clear vinyl with one side lined up with the line you just drew, covering the luggage tag on the sides and bottom. (This forms a pocket at the top of the luggage tag so you can insert contact information but is completely optional.) You will now have two pieces of vinyl on the back of your hoop if you’re adding the clear vinyl.
*Helpful Tip: Tape a piece of tear-away stabilizer over the vinyl on the back of the hoop. This will help prevent the vinyl from sticking to the bed of your machine.*
-
Run the final step to attach the vinyl on the back of your design to the front. When complete, the back of your hoop will look like the picture below.
- Remove from the hoop and trim around the perimeter of your new luggage tag.
- Finish up by punching a hole and setting an eyelet with a tool such as the “We R Memory Keepers Crop-A-Dile for Eyelets.


Attach your new super fun luggage tag to your suitcase and have a great vacation!