
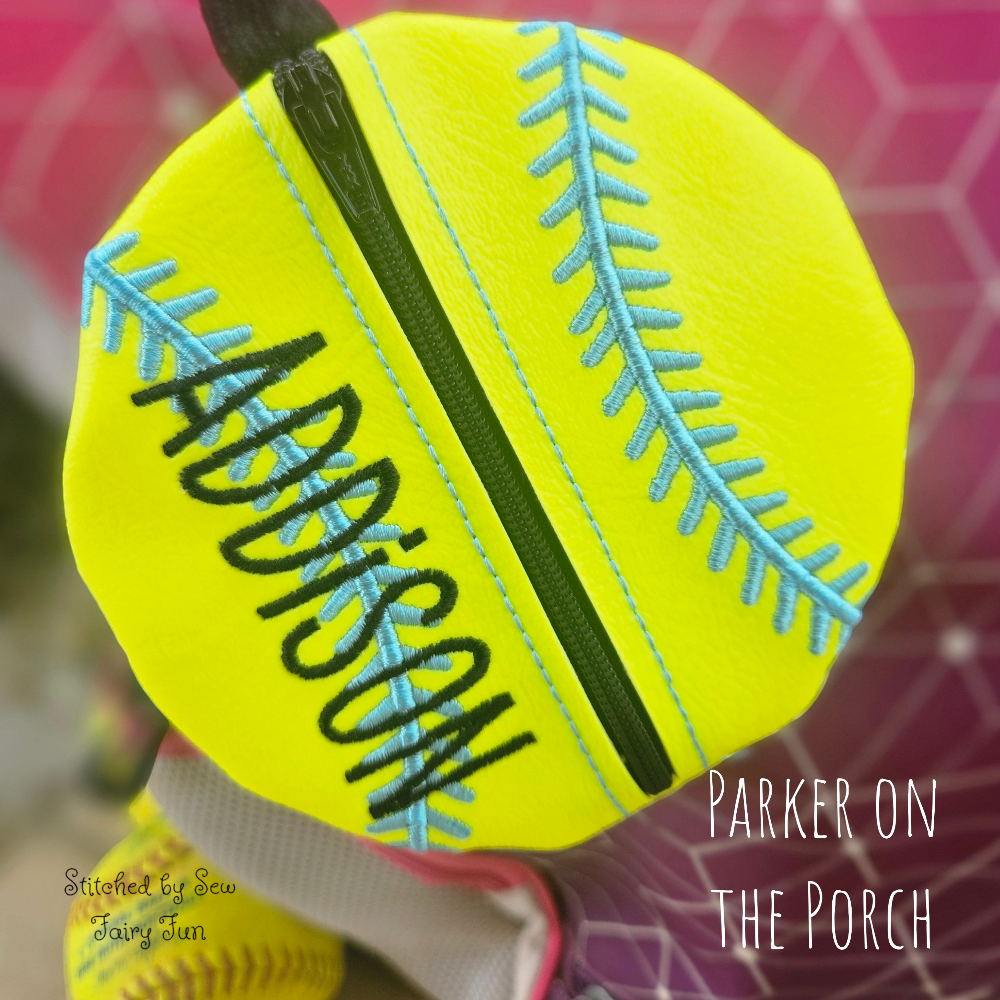
Spring is here which means LOTS of sports are in full swing! POP Sports bags make a great addition to any player’s bag, or even a spectator’s cup. Want to add a little extra “wow” factor to these bags? Personalize them with the team name, player’s name, or number! This blog will walk you through the steps to personalize a POP Baseball/Softball bag using the user-friendly “Embrilliance” embroidery software.
Supplies Needed
- POP! Sports bag of your choice. I am using the Baseball/Softball
- Full PDF Tutorial instructions for the POP Sports Bag you choose
- Embrilliance Essentials Embroidery Software
- Font of choice. We are using Gotham by DBJJ.
Let’s Make It!
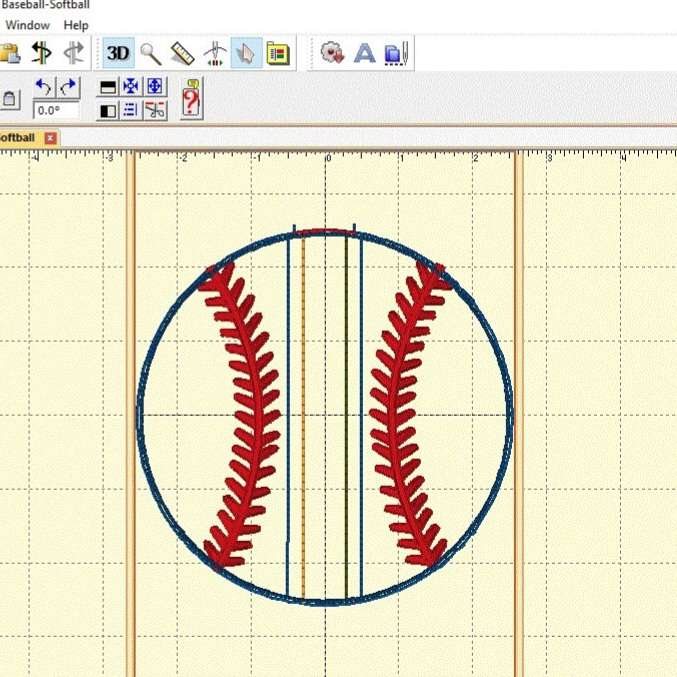
- Load bag design into your Embrilliance Essentials software. Do this by selecting “File” and then “Open” on the top left of your screen, OR by clicking on the folder with the green arrow as seen in the screenshot below. Navigate to the folder or drive that you have your POP bag saved. It will then load onto your screen for you. (For this blog, I used the 5x5 size baseball/softball sports bag file.)

- Click “Create Letters” which is located in the top right of your screen marked with the “A” symbol.

- The text “ABC” will pop onto the middle of your screen on top of the bag design. This embroidery step will automatically be added to the last step of the sequence for the stitch out. The sports bag will now show as “Object 1” on the right side of your screen in the Objects Box, and the text, “ABC”, will show as “Object 2”.
*I changed the color of the stitches to a light pink in the software for blog purposes so that it would be easier to see the name that I have added for the blog pictures. The colors that show in the software don’t have to correlate at all to what thread you use in your embroidery machine for each step.*


- Click on the text “ABC” in the Properties Box on the right side of your screen. Enter the name of your choice. Hit “Enter” on your keyboard. You can change the font by clicking on the down arrow directly to the right of the text you entered and scrolling to your desired font.
- Next, you need to position the text where you would like it to embroider on the bag. Click the arrow seen in the picture below on the top left of your screen. Rotate the text to your liking and then drag the text where you would like it to stitch out on the bag. (I rotated the name on this bag 90 degrees clockwise.)


- Drag the text with your mouse to where you would like it to embroider. Keep in mind where the zipper tackdown stitch lines are. For this particular bag, those lines are yellow and green. You don’t want your text to be over the zipper tack down stitches, so make sure you leave enough space there, as well as from the edges of the bag. Choose a smaller font if the text goes directly to the edges of the bag, you want to make sure there is ample space from the edges of the text to the perimeter of the bag.

-
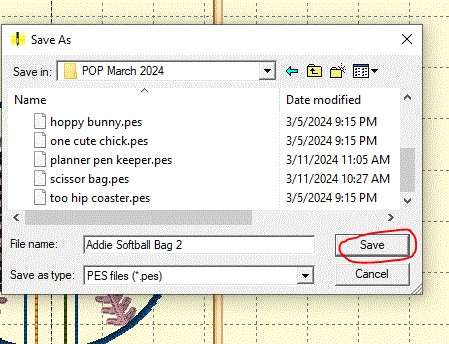
Save your new design to a USB drive by inserting the USB stick into your computer and following the sequence below:
-Click File, Save As (Stitch and Working)
-Navigate to your USB Drive and “click” to open it.
The design should now be successfully saved onto your USB drive. Insert the USB into your embroidery machine and follow your embroidery machine instruction manual instructions to open the design.
-Add a name for your design where it says “File Name:”
-Click “Save”.

-
Run the design steps following the tutorial through step 5 (for the softball/baseball bag). *Depending on the bag you’re making, this step may vary. You want to be sure to run your desired detail steps before advancing to the step where the name will stitch out, and before the lining is tacked down if customizing a bag with a lining.)
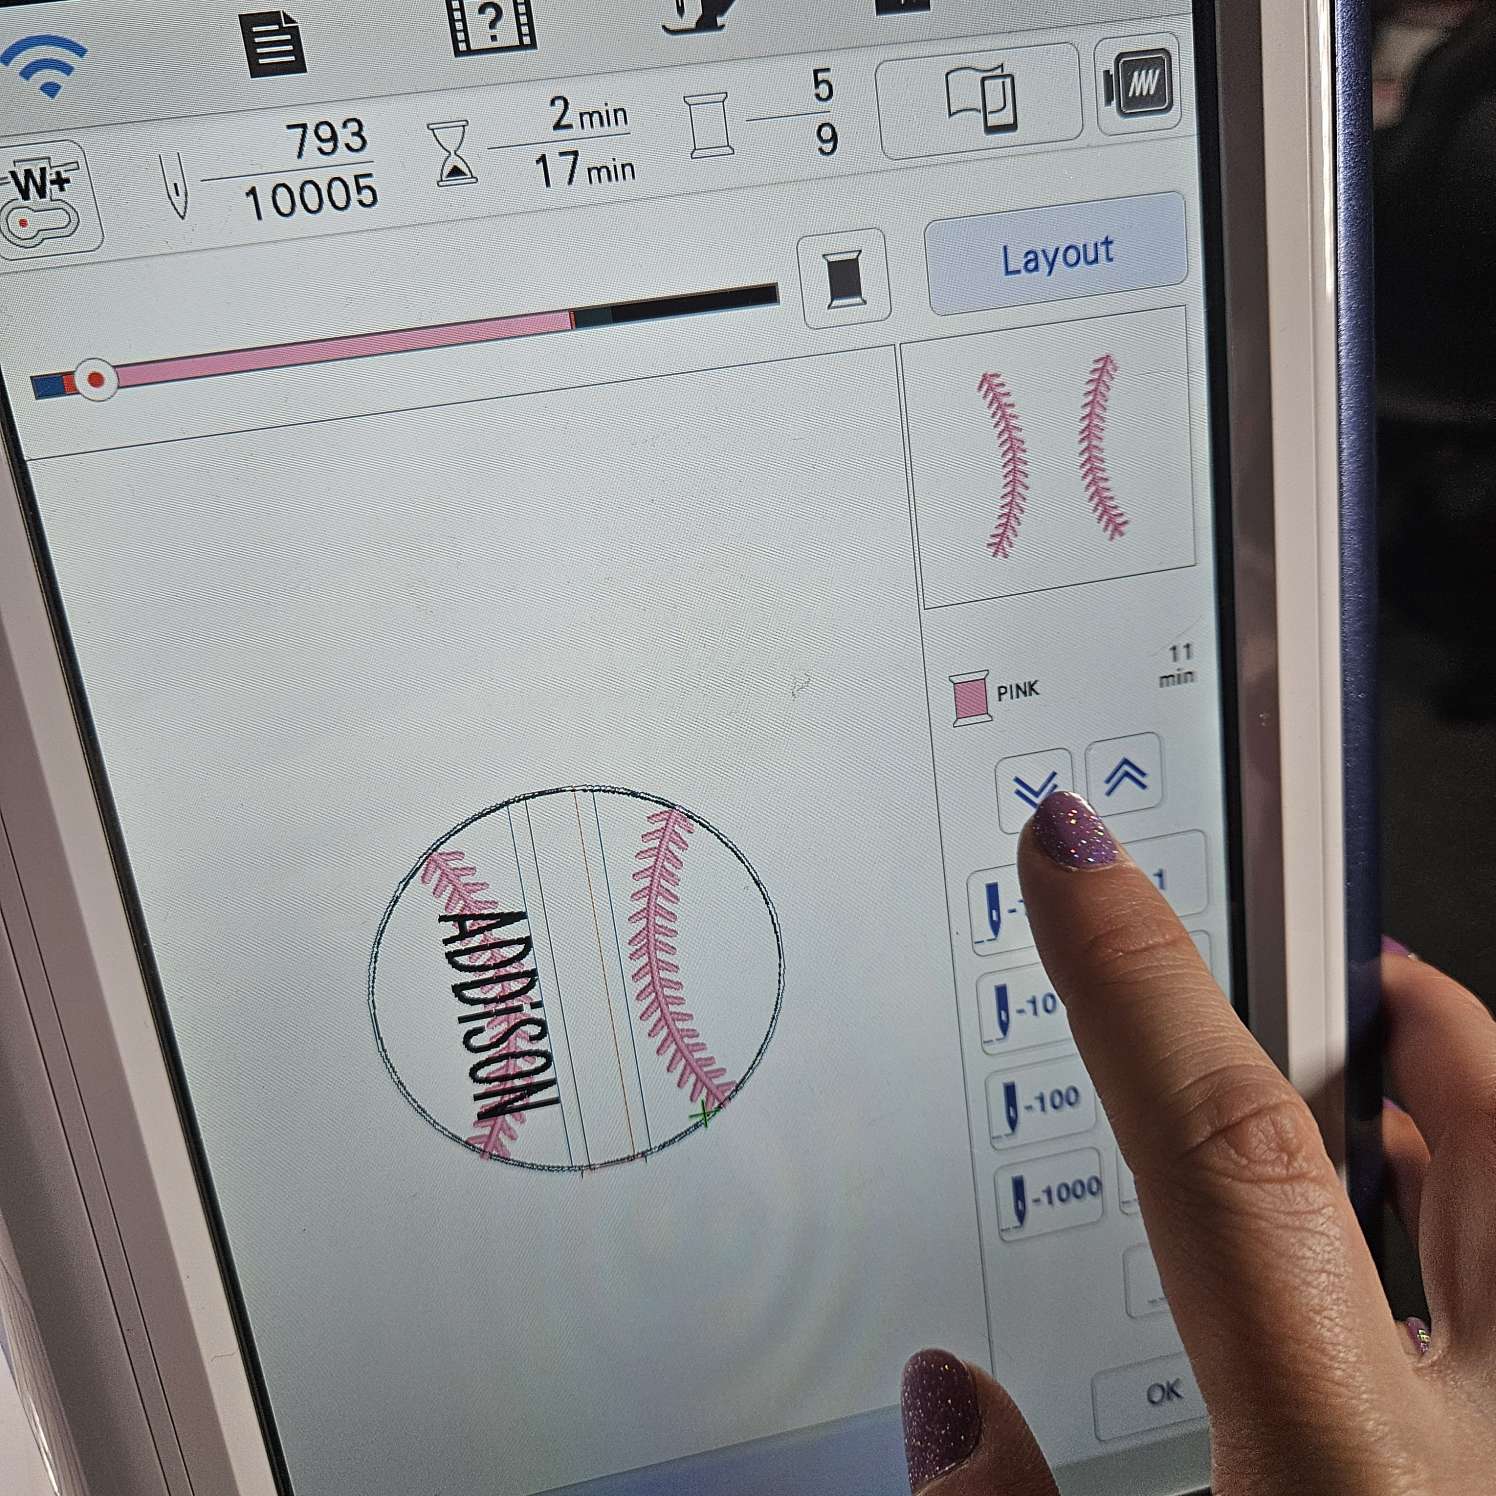
- At this point, you will want to advance your machine to the last step of stitching (Step 9 if customizing the softball/baseball bag), which will be your text. For instructions on how to advance your embroidery machine a step, refer to your machine’s manual. I have two Brother embroidery machines and both of them advance forward steps with a “Down” arrow and reverse steps with an “UP” arrow.
- After stitching out the name (step 9 for the softball bag with name added), skip back to step 6 on your machine to continue making the rest of the bag following the PDF tutorial. (Step 6 is the placement line for the tab of the bag.)


These same instructions can be used to add text to any design, whether it be a coordinating sports bag tag, a stuffie, or any other POP bag! Personalizing items makes your finished products even more special and unique. Get creative and most importantly, have fun! Share your finished customized items over on the Parker on the Porch Facebook page; we would love to see!